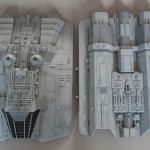
Made a lot of progress recently but forgot to take many pictures along the way! After pre-shading the panel lines on the main assemblies, A couple of light top coats of light grey were misted on, allowing just a hint of the shading to show through. The various darker grey panels were then masked off and sprayed – I kept these just a shade darker than the base colour so that the contrast is not too high.
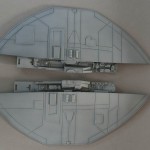
A liberal coat of dark dirt wash from Flory Models was then brushed over everything, working well into all the nooks and crannies and then left to dry. These are great water soluble washes that are very easy to use and provide great results. Once dry, you just wipe off the excess with a damp cloth or sponge leaving just a hint behind that really makes the details pop out.


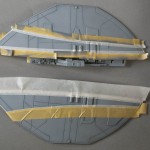
Next came the masking of the black stripes on the wing tips. This would be a very simple operation to do with tape were it not for a couple of greeblies that have to be masked across. I used4mm tape for the most part, and then small bits of 2mm tape over the lumps and bumps. These were then extended with wider bits of Tamiya tape I had left over from a previous job (I find it’s very easy to reuse Tamiya tape several times before there’s any sign of the adhesive giving out). The straight stripe on the underside were also masked off at this time.
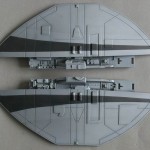
A not-quite pure black was then misted over in a few light coats to minimise the chance of seepage under the tape. The results were good, and probably less hassle than tying to do this with decals given the uneven surface.


There was one slight problem – when I removed the tape, it also removed some of the wash that was trapped within the grain of the grey topcoat resulting in faint but noticeable lighter strip on the outside of the stripes as you can see in the picture. A bit of rubbing along the edge and another application of wash managed to reduce this right down again thankfully!