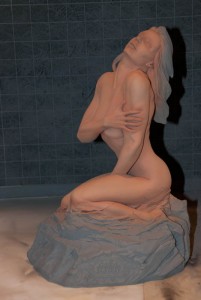
A Little More Ecstasy

Quick update – I blocked in the cracks & crevices in the rocky base with black, and then went back over the raised areas with some dark grey. I then carefully went along all the edges where the flesh meets the rock and feathered in a nice blend. This was particularly tricky between her legs!


I then tinted the rock and rock/flesh blend with some fairly random overspray of transparent purple ink to try and replicate the colour of the rock in the original artwork.


Alpha UFO Module

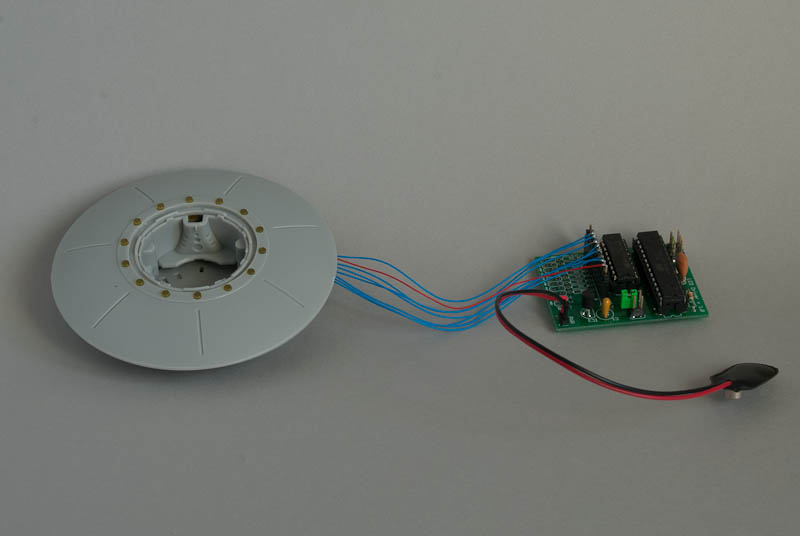
Here’s some quick updates on the Alpha UFO project. I’ve connected the lighting module to the LED driver module using 8 strands of wire-wrap wire – this is about the thinnest insulated wire going (yes I know enamelled wire can be thinner, but it’s much more fiddly to remove the coating).

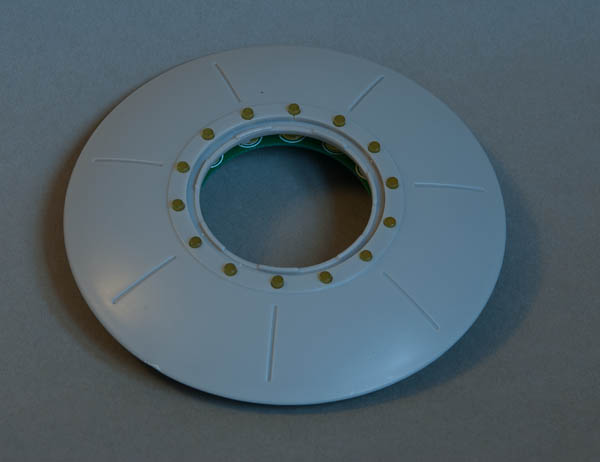
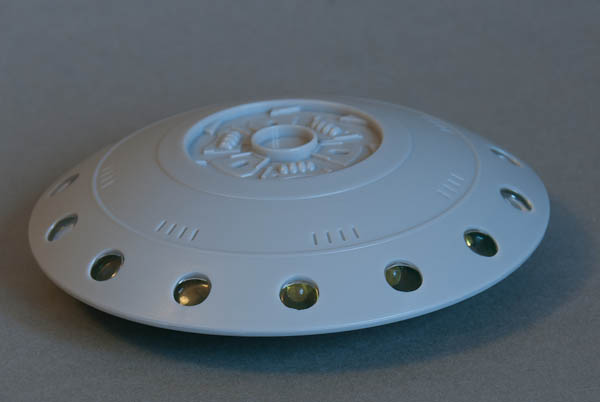
Here the top has been popped back on over the LEDs.

I’ve shot a short video to show the modules in action – for now I’ve just let the wires dangle out between the saucer halves. The wires could all be bunched together and fed down a much smaller plastic tube than in my original attempt.


Handy Sander

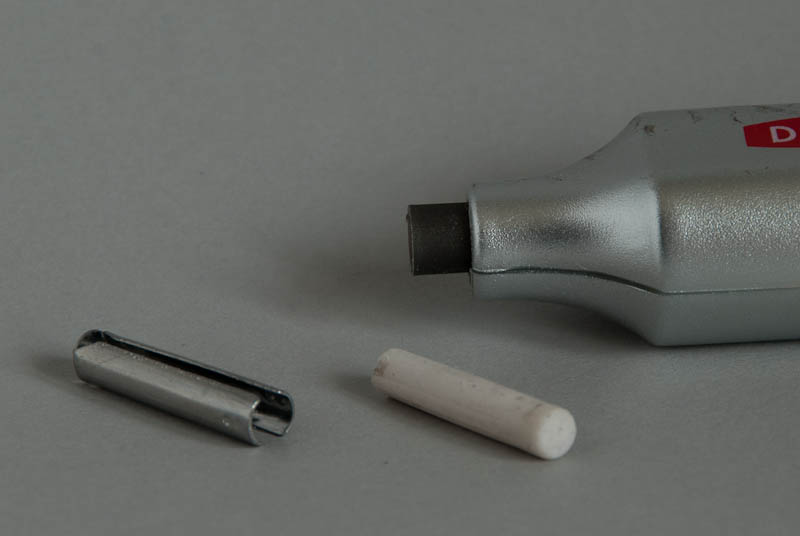
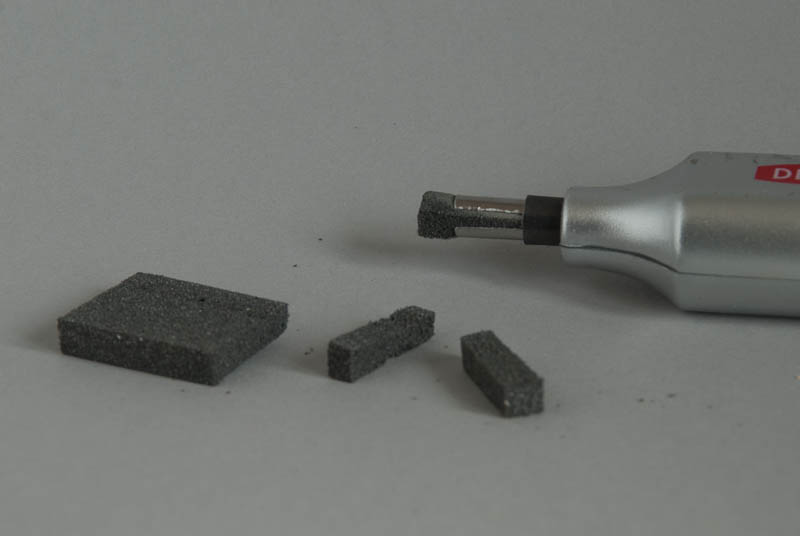
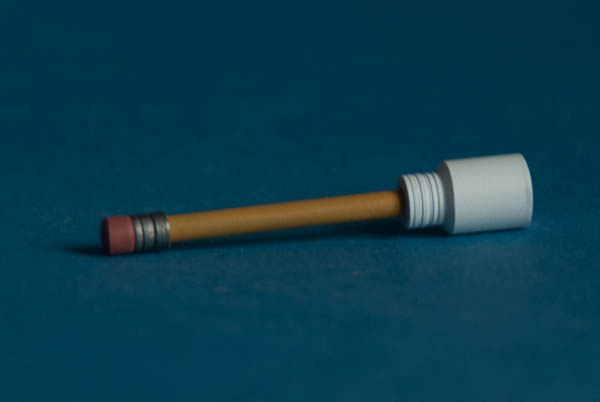
I recently spotted this battery driven pencil eraser in Hobbycraft. It’s about the size of a fat marker pen and has a simple friction chuck to hold small sticks of eraser material.

The chuck is simply pulled out, and the eraser pulled from the chuck.

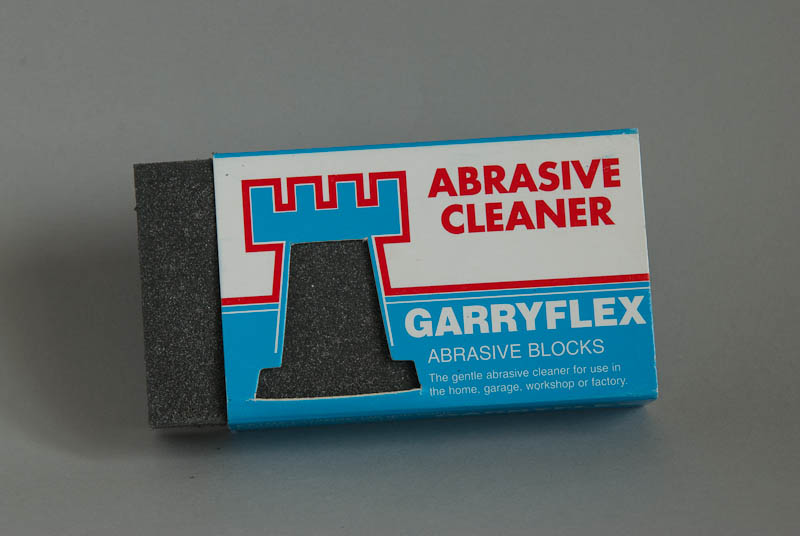
I’ve been using Garryflex abrasive blocks for a while for sanding irregular surfaces – these are a rubber-like material impregnated with abrasive grit. They are relatively soft and can be cut into smaller bits easily with a hobby knife.

I cut off a 5mm slice from the end, and then cut that into 5mm sticks. These sticks can then be inserted in the eraser chuck. Although they start square, the soon wear down to a rounded point.

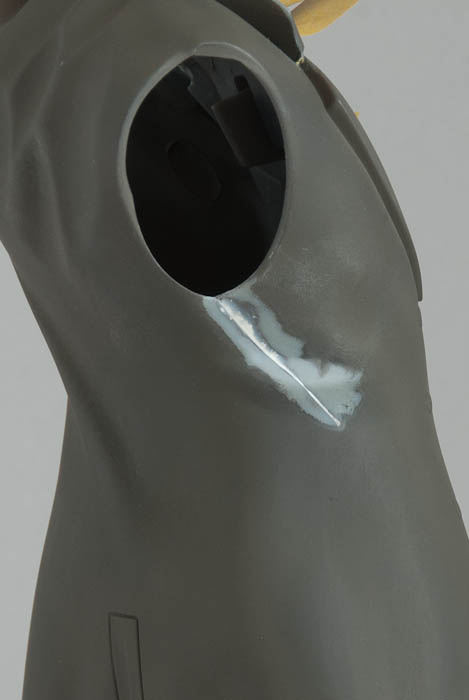
The tool can then easily be worked into tight corners and concave surfaces that would otherwise be hard to reach with sandpaper. Here’s an example wornking on a filled seam on the Moebius Invisible Man kit.

Note: Always wear eye protection because particles of grit can fly out in all directions as you work!

Alpha UFO PCB Assembly

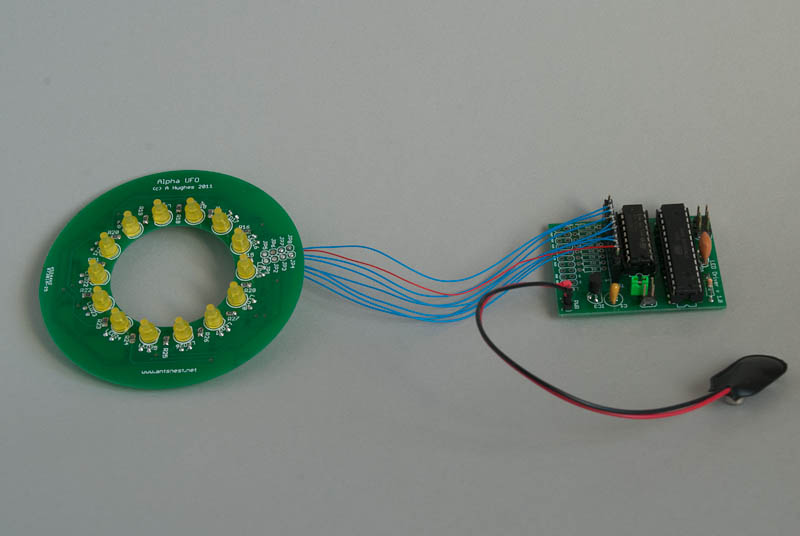
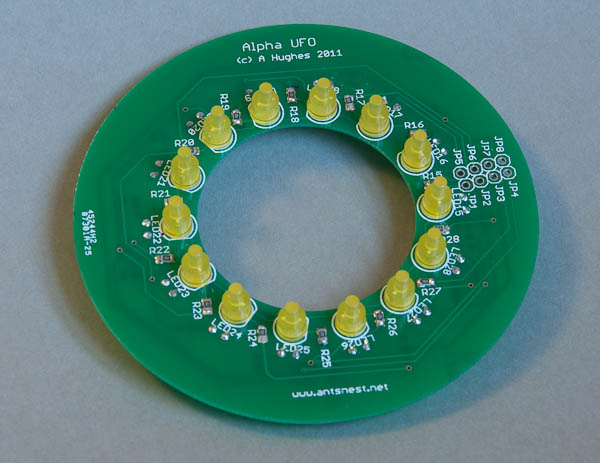
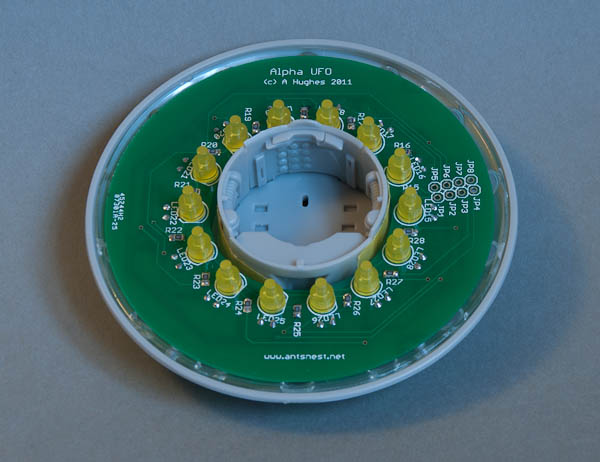
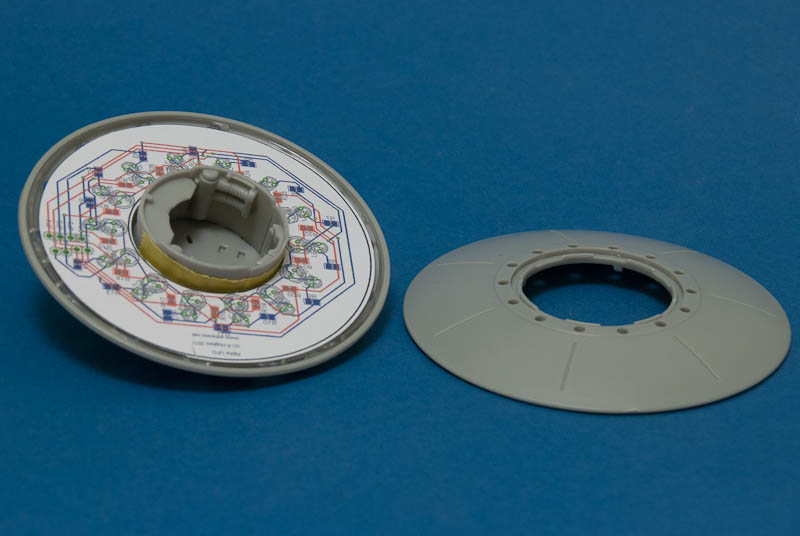
First test assembly went well. Soldering the SMDs wasn’t too bad once I’d worked out a strategy. They were added first, while the PCB could be held flat. You can just make out the SMD resistors in the picture – they are only 2mm long and 1.5mm wide! After that the top LEDs were added. These are 2.4mm “lighthouse” types that poke through the holes in the upper half of the UFO perfectly. The first UFO I did had green lights so I chose yellow for this one.

The bottom LEDS were added next – these are more tricky because they are bent almost flat with the PCB but such that they still point out of the windows in the bottom half of the UFO.

The PCB itself sits neatly inside the UFO. There are 8 connections to the controller board (seen at the right of the picture below) that must be brought out to the external controller which provides the animation. In the previous incarnation, these were fed through a small hole cut in the bottom and down a tube that was also used to hold the UFO aloft.

A quick electrical test revealed everything was working as expected! Amazing! I wasn’t expecting to get the layout perfect the first time. A satisfying day in all.

Alpha UFO PCB

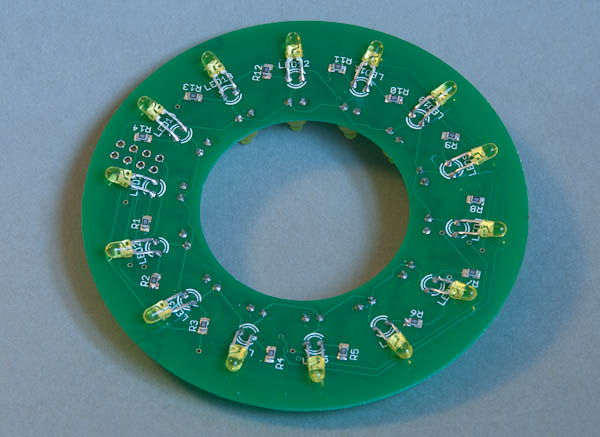
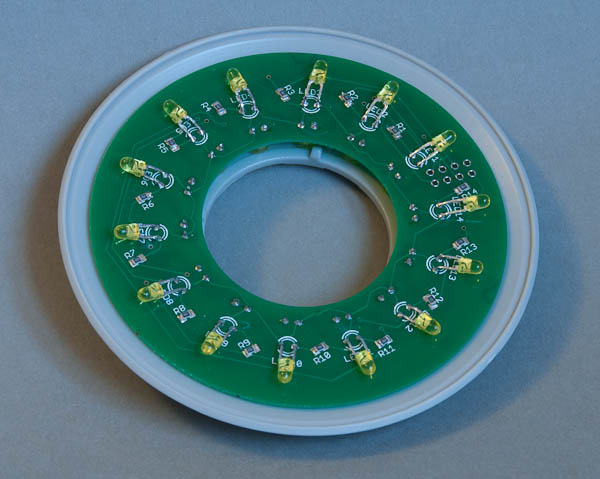
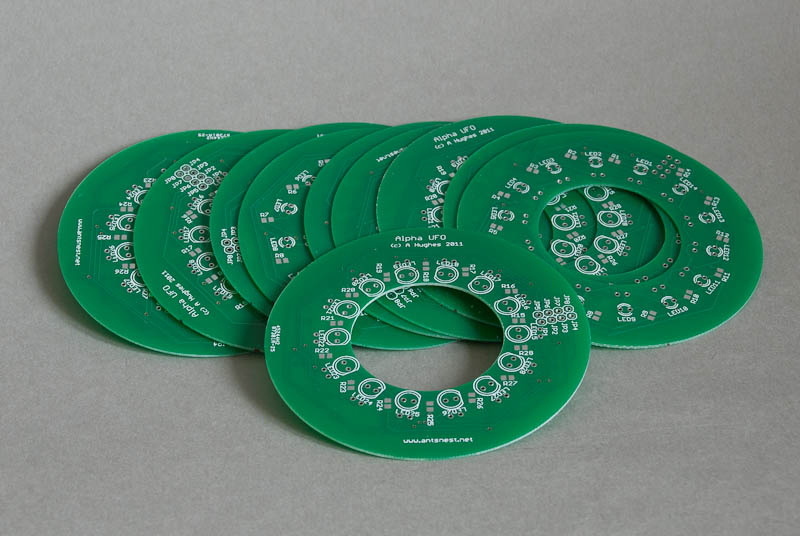
Things are looking up! The fab house had no problem making the donut shaped PCB and I’ve just received the first batch.

And what’s more, they actually fit in the saucer!

The next job is to build one up and make sure it still fits with all the components added – that’s still a gamble. I’ve gone for surface mount resistors to save space, but after checking and checking, the one thing I didn’t notice until just after I sent the design off is that I’ve used the smaller 0805 package rather than the intended 1206 package which means they will be even more fiddly to hand solder.

Alpha Centauri UFO Lighting

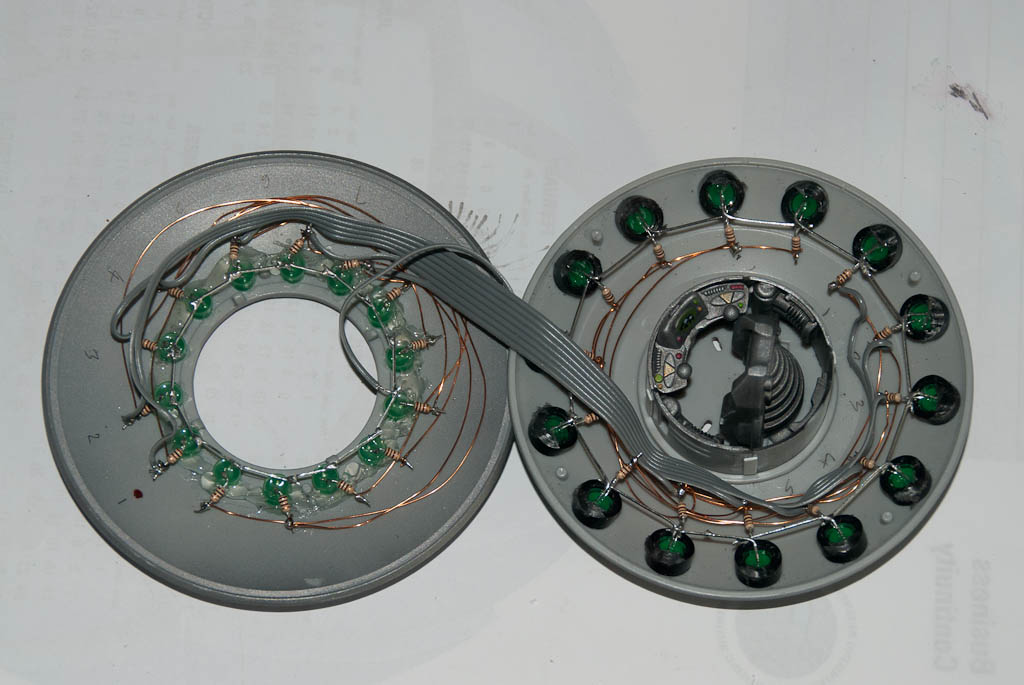
Back in 2010 I added some custom lighting to the Pegasus Alpha Centauri UFO using one of my LED driver modules. There is very little space inside the UFO body, so the controller had to be housed externally and there was only just enough room to wire up all the LEDs as you can see here (not the neatest wiring in the world!) 

 At the time I was thinking about producing a PCB to hold all the components and turn it into a neat drop in unit, but never took it further. A recent conversation with an interested party has brought this off the back burner again and after spending a couple of hours messing around with layouts I’ve come up with the following (paper) prototype.

 I was originally planning on using surface mount LEDs but there was an issue with the way the ‘portholes’ in the bottom of the saucer are at an angle which meant the light would not be even. After some head scratching I came up with a possible workaround using standard through hole LEDs that should solve this.

The next possible showstopper is whether I can get the boards made up at a viable price. Many of the ‘cheap’ low volume prototype fab-houses have a lot of restrictions on what you can get away with, and a round board with a big hole in the middle may be pushing things too far. We shall see…

The Agony and the Ecstasy

I’ve had this kit for about 10 years. It’s based on a painting by fantasy artist Julie Bell called “Ecstasy” and was sculpted and produced by Steve West of Cellar Cast to compliment their range of other kits from artwork by Boris Vallejo (Julie’s husband).

 

Despite the good heritage of being a Cellar Cast kit, it’s been one of those that’s been in and out of the cupboard many times due to some manufacturing issues – most notably a proliferation of tiny airholes all over the rocky base. Over the years I’ve tackled them again and again, seeming to make no progress. They are small enough to be difficult to fill with putty, but large enough to still be seen. I’ve tried, epoxy putty, acrylic paste, opening them up larger and then finally just going a bit mad with a milling bit in the drill, hacking and carving away large areas of offending bubbles.

As it turns out, this was the best approach – given the very fractured rock texture of the base, you really cannot see what is original and what I’ve had a good old go at! I wish I’d just done it years ago…

The other problematic area was the hair – airholes in all the strands were much harder to repair, and for this I just had to be patient. Putty, sand, prime, rinse, repeat. it’s still not perfect but I got to the point where I had to start getting some paint down or the whole thing was going out the window…. There are still many holes in the lettering of the nameplate, but I’ll cross that bridge when I come to it.

On with the paint. Priming was the ubiquitous Halfords grey – I dread to think how many cans of this I’ve bought over the years, but I’ve yet to find anything better for the cost. Having said that, it has been reformulated in the last couple of years and now has a much grainier finish than it used to.

There are quite a few deep recesses in this figure that will be hard to get the airbrush into. I started off with a chestnut brown pre-shade into all the folds and crevices, making sure that all the grey was covered when viewing from any angle. Nothing worse than getting most of the way through a paint job and finding you’ve missed a bit. It’s then much easier to go over the brown with you flesh colours, and any of the bits you can’t reach will have a natural shading anyway.

 

After that, a base coat of Miniature Paints Tanned Flesh – this is my favourite out of the bottle flesh colour. Most seem to be either too pink, or too orange, this one is just right.


 

A darker shade was mixed up with a bit of Chocolate Brown and this was lightly applied around all the edges of the skin and into the shadows & folds. The base flesh was then lightened with a drop of white and applied to all the natural highlights of the figure – all those upper surfaces where the light falls directly. It sometimes takes a few iterations of dark & light until you are happy with the overall effect.

 

Gizmo

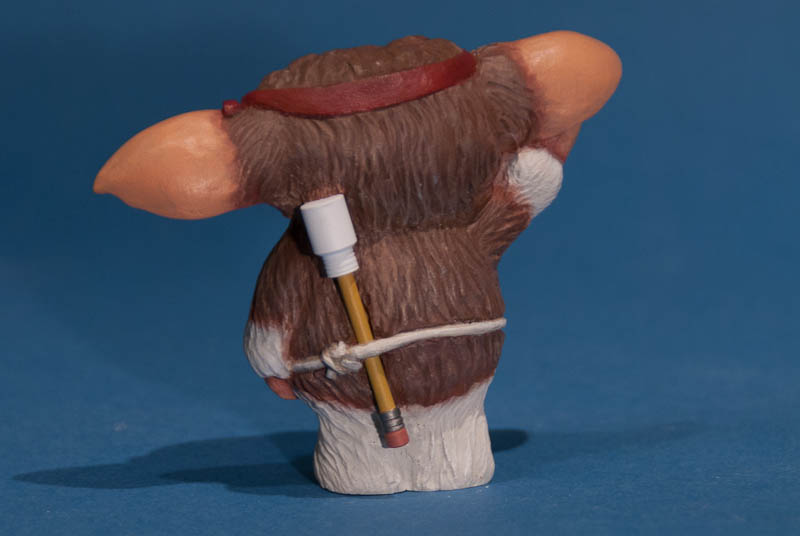
After a lick of paint, here’s the finished arrow.

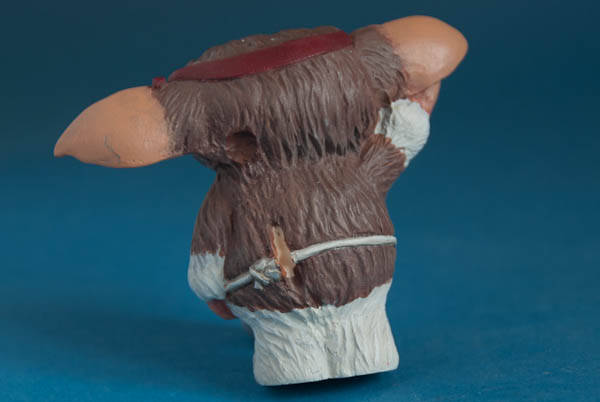
Using a small milling cutter in the Dremel, I removed the old cast-on arrow and added a bit of fur texture back in the area now exposed. I also cut a deeper channel for the arrow shaft to rest in so that it sat better in the fur.

The paint was then touched back up again. Before this, an additional area was removed from the head to allow the bottle to rest in the fur too.

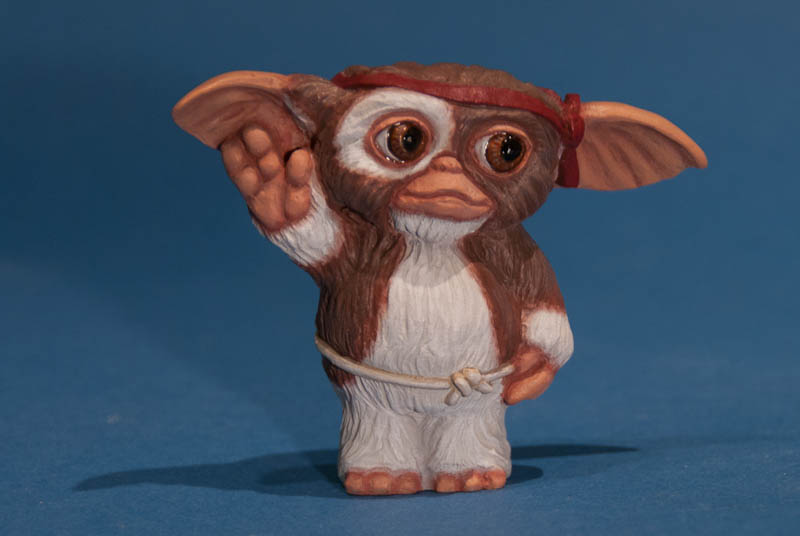
Finally the arrow was glued in place and then the missing belt section was replaced with epoxy putty. Also the fur around the top of the bottle was blended back in with another bit of putty. Here’s the finished results: