For decades I’ve been looking for an “easy” way to repair pinholes, air bubble defects and hairline gaps in resin kits. My usual filler choice is a 2 part epoxy like Miliput or MagiSculpt which usually works well for larger defects, but can be a real bind to use on tiny but still very visible issues. You can sit there and poke it into bubble holes but sometimes it can be hard to get it to stay in place without a lot of pressure, which usually ends up with it not completely filling the hole, or being distorted some how and requiring another application once the initial one has cured. This process can take hours to complete. It’s also hard to get very thin layers to adhere well to hairline defects where there just isn’t enough surface for the putty to stick to.
I’ve tired other types of more liquid fillers, but they all come with drawbacks – shrinkage is common in many – which again requires re-application, and some of the water based ones like using acrylic paste or Perfect Plastic Putty can give good initial effects but completely disintegrate if you need to wet-sand the area. Also the different hardness of the fillers can have an effect when areas are sanded – if there is a big difference then you can end up with an uneven surface as one component is eroded faster than the other. CA glue is interesting filler as it is relatively liquid yet can be hardened very quickly with kicker. But once fully cured it is significantly harder than urethane ‘kit’ resin.
A few years ago, UV-cure glue started to become readily available. I’d thought about trying this for modelling purposes but never actually tried it – to be honest I was a bit put off by some of the toxicity warnings on the packet of one I looked at…
Fast forward a few years. The 3d Printing revolution is in full swing and I’ve owned both a “hot melt” FDM printer and a UV cure resin printer for some time. But until now I’d never made the mental connection between the UV glue products and the bottles of UV cure resin that are now sitting on my shelf. Eventually a light-bulb comes on – this is a type of resin that has very similar properties to urethane. It’s fairly liquid in an uncured state, but small amounts can be fully cured with little more than 20-30 seconds under a UV LED torch.
I chose one of the worst still-unbuilt kits in my collection – something I’ve had for around 20 years and has remained unassembled due to the utterly terrible quality of the casting. It’s a Mars Attacks Martian soldier – reportedly cast from one of the original maquettes used while the film was being developed. I can’t even remember where I got it from, other than somewhere over the internet in the very early days. The only reason I’ve still got it is it cost me an awful lot of money – money I would never have parted with if I’d know about the quality in advance. Caveat Emptor!
Every now and then I have dug this out of the back of the cupboard and had a go at filling a few more air bubbles with whatever new method I’ve been trying, but it’s always been a slog. But now was the time to get it out again and have an experiment with this latest technique.
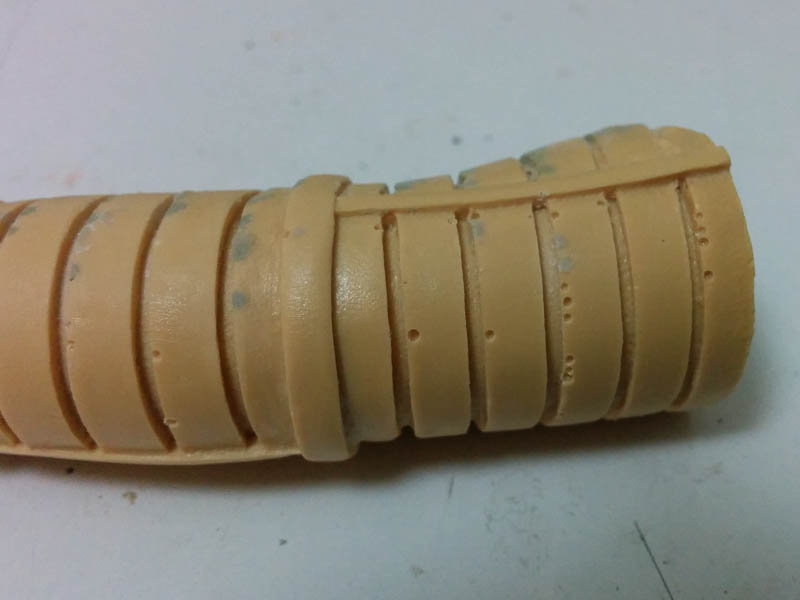
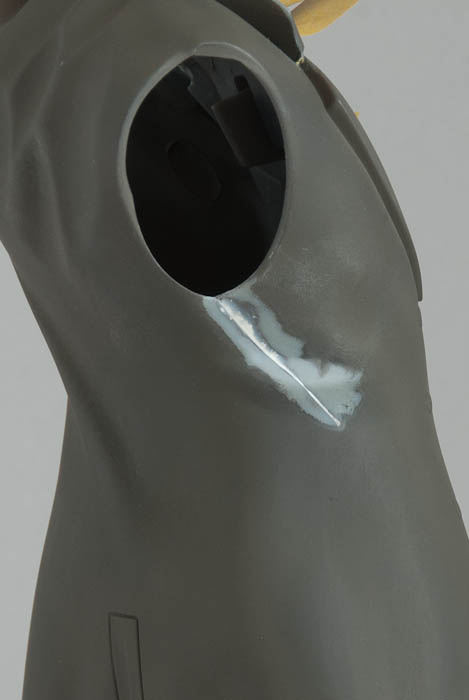
Here’s a typical flawed area – There are many air bubbles along the ribs of the spacesuit. You can see where some of these have been tackled with epoxy putty in years gone by, with varying success. Using a very small drill bit – probably around.7mm I actually made some of the smallest holes much “worse” by drilling them out some more. What you actually have is a larger bubble below the surface with only the very top open. It’s actually much easier to fill the bigger holes than the smaller ones, as odd as that may sound.
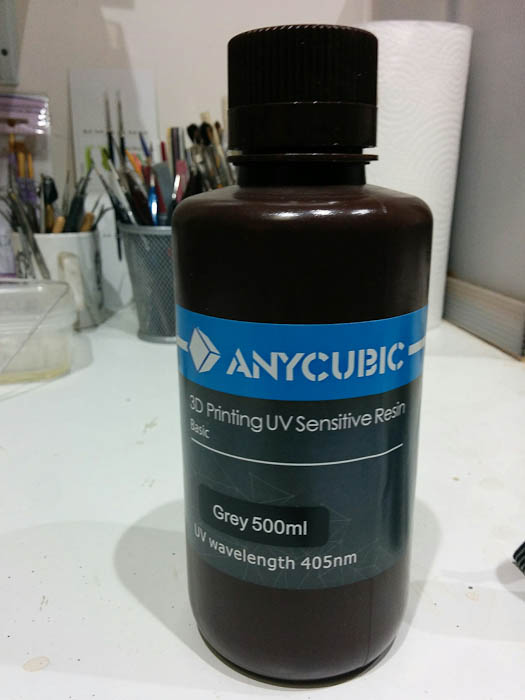
The grey resin I use with my Anycubic Photon printer. The resin is more expensive than 2-part urethane, but the prices have fallen dramatically over the last year or so as demand drives supply.
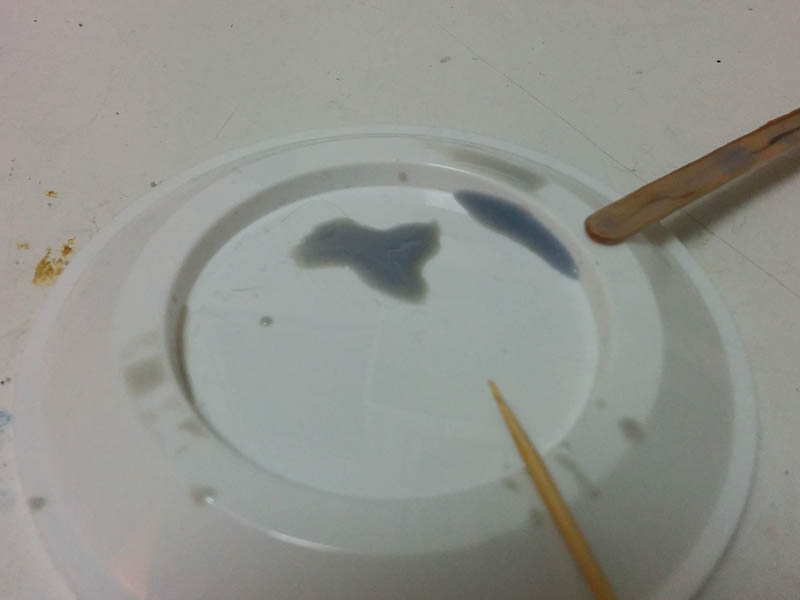
I dribbled a bit of resin out into a plastic lid for ease of use. You only need a tiny bit at a time. Since the resin is UV sensitive you need to work away from bright sunlight – in the UK winter, it will happily stay uncured on my workbench for several days!
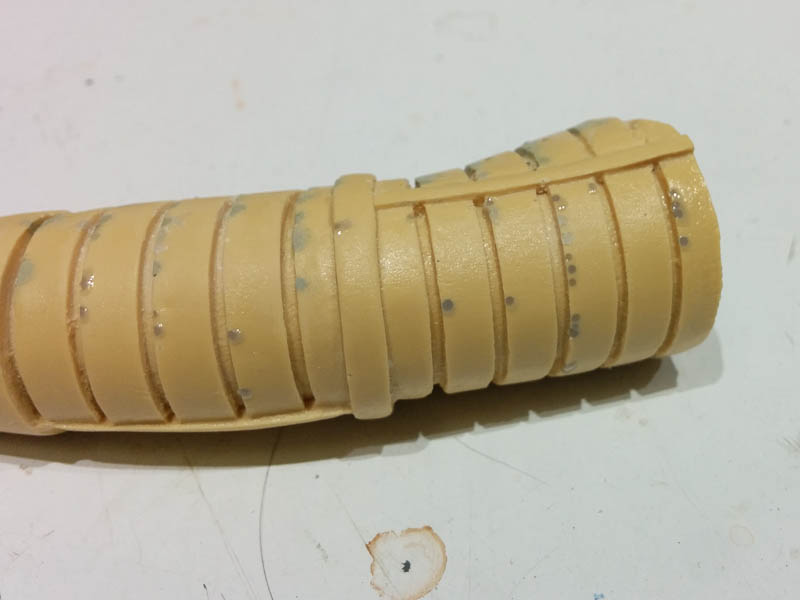
Using a toothpick, I filled each pinhole with resin, leaving the surface just slightly proud. It flows readily into the hole if the air inside can escape – this is the reason for making the smaller holes a bit bigger.
The resin was cured by shining a UV torch (eBay or your favourite online emporium. You need one with a 405nm wavelength to work with the resin) on each area for 30 seconds.
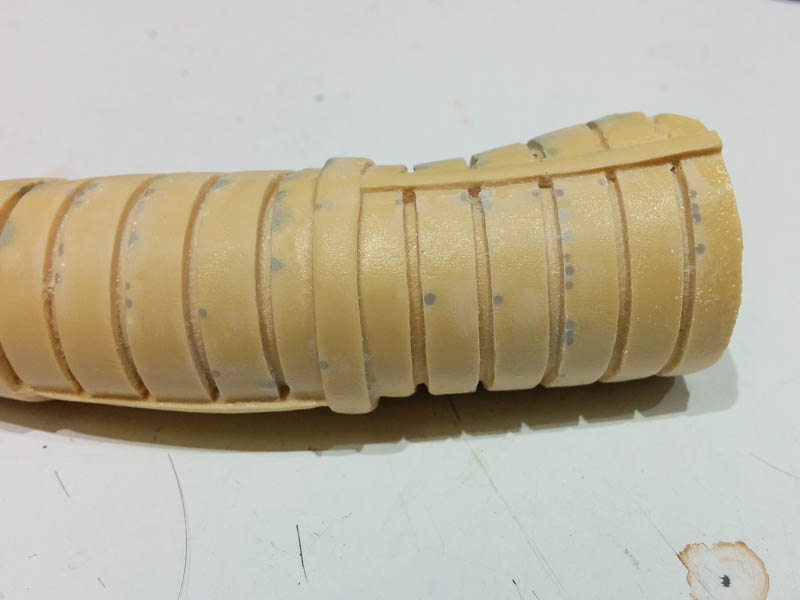
You can now sand the excess resin back down for a completely smooth and flawless finish. If you’ve underfilled the hole slightly, just apply a drop more, re-cure and re sand.
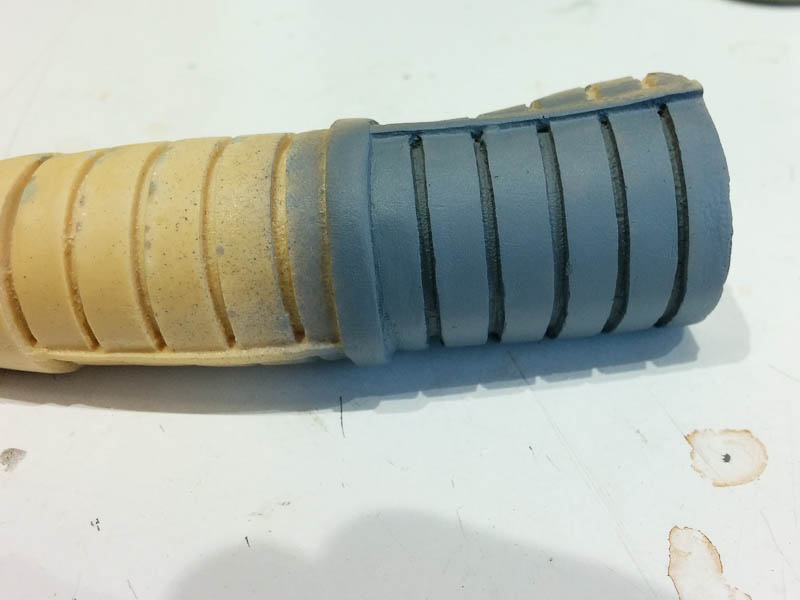
A quick shot of primer, and we’re looking in a much better state!
The same process works for seams and mold lines – just trickle a bead of resin along the area with the cocktail stick, cure and sand.
Larger holes and defects can be filled by repeated application – because the resin is fairly liquid it won’t hold shape on its own, so you need to build it up in layers. Also the thicker the resin, the more cure time you will need, so it’s better to cure in thin layers too.
Overall I was astounded how easy the process was. I sat and processed 50+ holes to a point where they would be ready for paint in about 15 mins. That would have taken a considerable time to do with Miliput, and you’d still have to wait for several more hours for it to cure before sanding and checking. Then comes the inevitable rework, taking even more hours.
So what’s the catch? There must be a catch right? Yes, there’s a catch.
The photo resin in its uncured state is pretty unpleasant stuff. It’s generally considered to be pretty toxic and you need to take safety precautions when using it. At the very least you need to wear latex/vinyl gloves because you don’t want to get it on your skin. Eye protection is also recommended in case of splashes when handling. It can be pretty smelly too so an adequately ventilated workspace is required, although the smell varies between different resins, and the amount being used for hole filling is nothing like having a vat-full exposed during a many hour 3D print, which is the normal mode of use. There are also on-going developments with safer resins, based on soy of all things which are supposed to be non-toxic but I think the jury is still out on validating those claims. No-one is lining up to be the first to drink a bottle to find out*
Having been so impressed which my experiments, I’m now keen to try it out in anger, but will have to wait as I don’t currently have any kits at the clean-up stage. This won’t replace other types of filler completely – you’ll still need putty for rebuilding texture and larger modifications, but I can see it becoming an essential and permanent part of my model-building arsenal.
I was lucky in that I already have the resin as part of the 3D printer toolset. But you can buy smaller bottles of resin on their own (250ml for around $20) in a variety of colours including translucent and completely clear which itself opens up a host of new possibilities for repairing clear parts. My next test is how well it woks as a styrene filler – I’m not sure how the two might stick together, but if there is a strong bond then it may be just as useful for styrene kits too.
* Legal disclaimer. Do not drink a bottle of any resin, under any circumstances!

